

Vocal remover: a tool for separating vocals from music
On this page
How a Vocal Remover Works
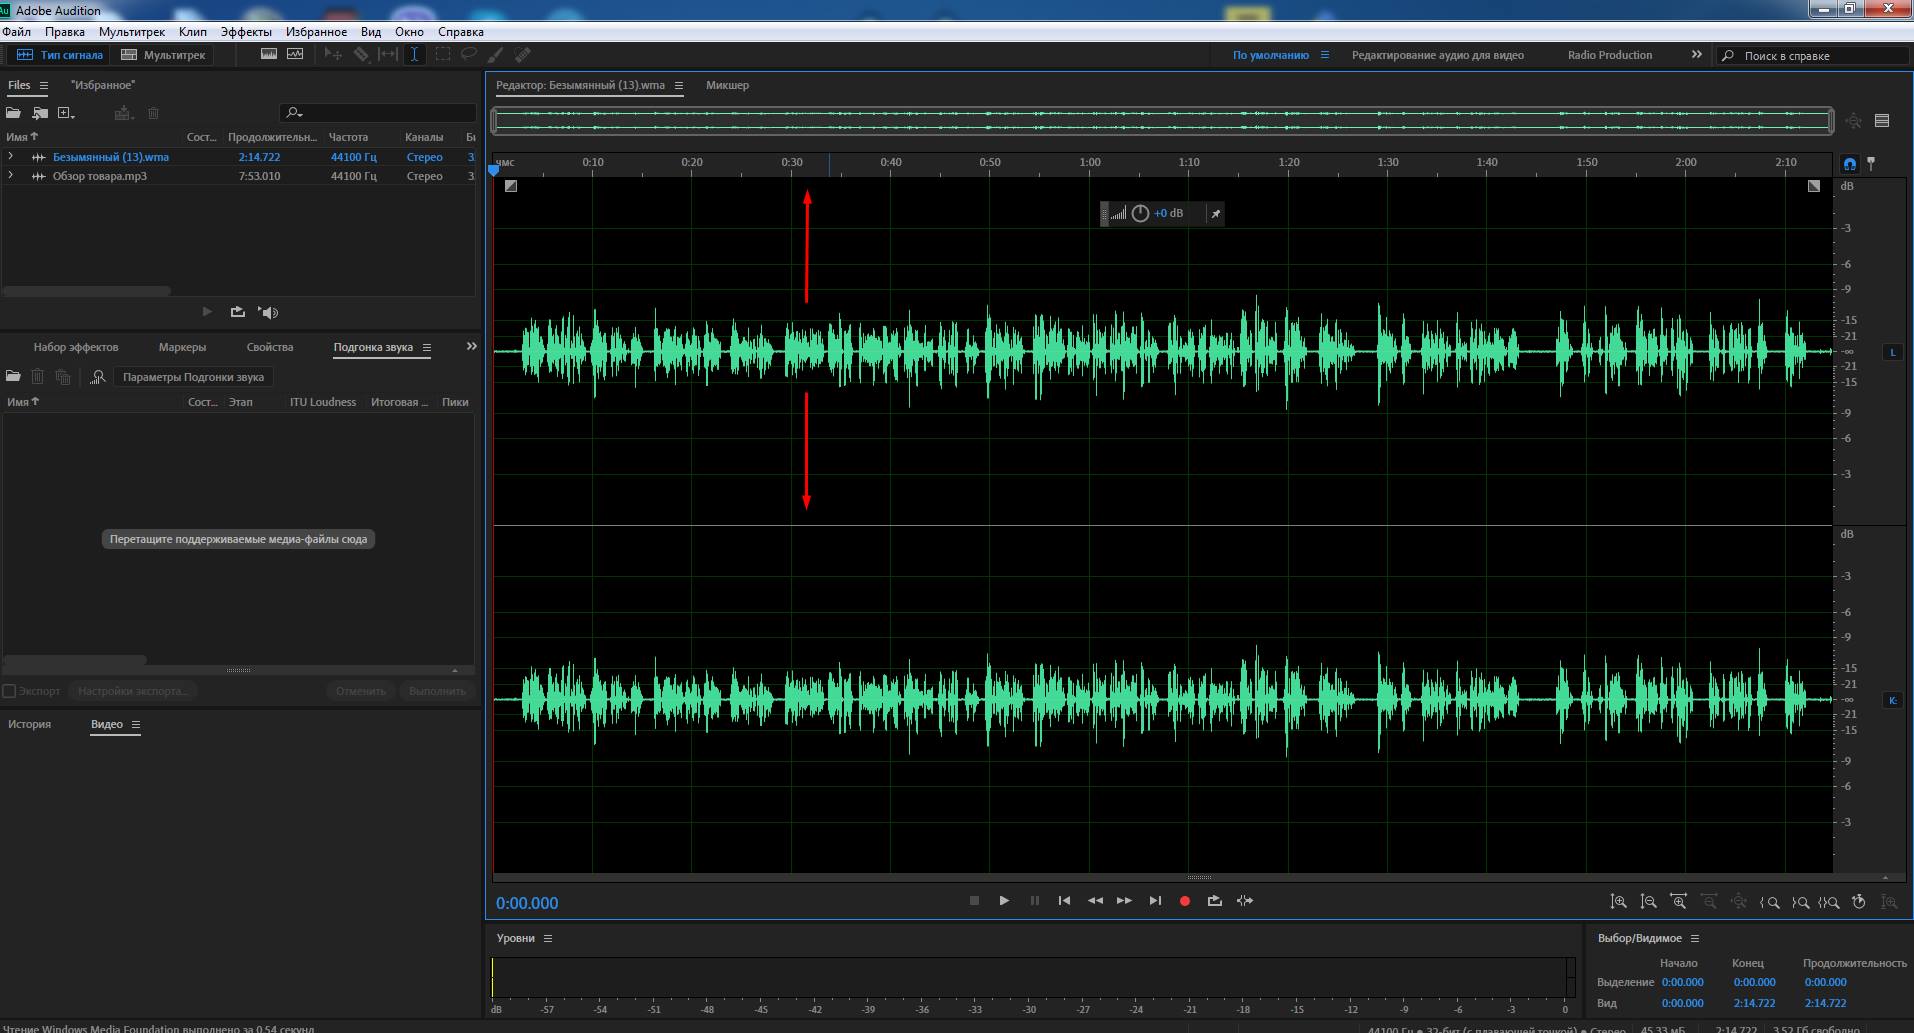 You upload the song, but the program doesn’t “hear” it like we do. It doesn’t see the big picture; instead, it breaks it down into tiny segments. It converts the audio into a series of numbers: pitch, volume, and most importantly, the sound’s position in the stereo field.
Music is almost always in stereo. That means there’s separate audio for the left and right ears. Drums, bass, and lead vocals are usually centered—playing at the same volume in both channels. Backing vocals, guitars, and effects are panned slightly left or right to create a wider, more immersive sound.
You upload the song, but the program doesn’t “hear” it like we do. It doesn’t see the big picture; instead, it breaks it down into tiny segments. It converts the audio into a series of numbers: pitch, volume, and most importantly, the sound’s position in the stereo field.
Music is almost always in stereo. That means there’s separate audio for the left and right ears. Drums, bass, and lead vocals are usually centered—playing at the same volume in both channels. Backing vocals, guitars, and effects are panned slightly left or right to create a wider, more immersive sound.
How the Program Separates the Audio
It examines the recording in millisecond increments, searching for identical sounds in the left and right channels. If a sound is the same in both, it’s centered. That’s usually the vocals.After that, the program doesn’t simply erase the voice—it subtracts it from the entire mix. Left channel + Right channel = Full song Vocals (V) are centered in both: (Instruments_Left + V) + (Instruments_Right + V) = Full song To remove the vocals, the program subtracts V: (Left channel) – (Right channel) = 0 for centered sounds. For a clean acapella, it does the opposite—keeping only what’s common to both channels and removing everything else.Why Isn’t the Result Always Perfect?
Not everything centered is vocals—bass and kick drums often are too. The program can’t distinguish them by frequency alone, so the bass might sound muffled, or the vocals could retain noises or clicks. Reverb and effects span the entire stereo field. When removing vocals, the program can’t always eliminate their “shadows”—the reverb lingers and sounds odd. If backing vocals or an instrument are also centered, they’ll either get removed with the lead vocals or remain when isolating the voice. Old mono recordings can’t be separated at all, since there’s only one channel with everything mixed together. Why is this useful?- Karaoke. Remove the vocals and sing along with friends.
- Remixes. Want to use someone else’s vocals? Try extracting them from the original.
- Learning. Remove the vocals to sing over the music yourself or isolate the voice to study the artist’s technique.
Advantages and Key Features
You used to need the original studio stems. That was nearly impossible for everyday people. Now, you visit a website, upload your song, and get results in minutes. A major hurdle is gone. When it comes to speed and accuracy, there’s an important nuance. They process quickly: separation takes minutes, sometimes seconds. But “accurate” is relative. Don’t expect flawless studio-quality results as if you had the source files. The algorithm is simply good at identifying vocals versus music in most cases. The output is often usable, but rarely impeccable. Why are they so convenient? It’s straightforward. If you’re an amateur musician who hears a great guitar riff but wants the vocals gone, you can get a cleaner instrumental version in minutes. If there’s a song you want to sing but no official instrumental exists, you can create one yourself without needing permission. If you’re a budding producer experimenting with vocals, pull them from an older track and layer them over your beat. This gives you the freedom to work with existing music. It helps you learn and create something original. As for free versus paid services: Free options are a great starting point to test things out. They often come with limitations: lower audio quality, processing queues, and song length caps. Separation quality is typically average: vocals can sound muddy, and instrumentals might have vocal artifacts. Paid services are more professional tools. For a fee, you get:- Better-trained AI models that separate sounds more precisely.
- Support for high-quality files (WAV, FLAC), leading to superior results.
- No queues or restrictions.
- Extra controls: adjust the intensity of vocal separation.
Criteria for Choosing a Vocal Remover
What to really focus on when selecting a tool for vocal separation. These aren’t just specs—they’re practical factors that impact your results and workflow.- Separation quality is the top priority. It depends on your needs. No remover delivers studio-perfect results on every track. But the gap between decent and poor output is huge.
- After processing, the vocals should be clean, free of reverb and instrument bleed. The instrumental shouldn’t have audible vocal remnants, especially in quiet sections. Budget algorithms often leave ghostly echoes or “shadows” of the voice that get in the way. Testing is easy—upload a track to the service and listen closely to the intro, phrase endings, and silent parts.
- Processing speed. Online services often use queues. You upload and wait your turn, which can take minutes to an hour. Fine for occasional use, but frustrating for multiple tracks. Desktop apps run locally on your machine, with speed tied to your CPU.
- Platform choice—online or desktop? Online is hassle-free: no installation, accessible from any device. Downside: your file goes to a third-party server, which isn’t always ideal. Plus, there are file size and quality limits. Desktop software (free or paid) keeps files private and often offers more advanced separation settings. Drawback: requires installation and storage space.
- Cost aligns with your goals. Free services work for casual karaoke instrumentals or experiments. Their limits (queues, quality) aren’t deal-breakers here. Paid options are essential when results matter for serious work: remixes, releases, or professional productions. They provide higher quality, saving time on manual fixes.



Consistently delivers good results.
The ability to fine-tune the AI’s parameters gives you an incredible amount of control over the final output. It requires some experimentation, but the results are highly customizable and precise.