How to Write the Perfect Prompt for AI Photo
On this page
AI can’t read your mind. The quality of the generated image depends entirely on how precisely you describe what you want. That’s why writing a good text prompt is the most important skill when working with AI. In this guide, we’ll break down how to write a photo prompt so the result looks like a professional photoshoot, not a random AI generation. You’ll learn how to create realistic images with your own face, make group photos from individual portraits, which language works best for prompts, and which AI image generators are best suited for beginners.
What a prompt is and why it matters
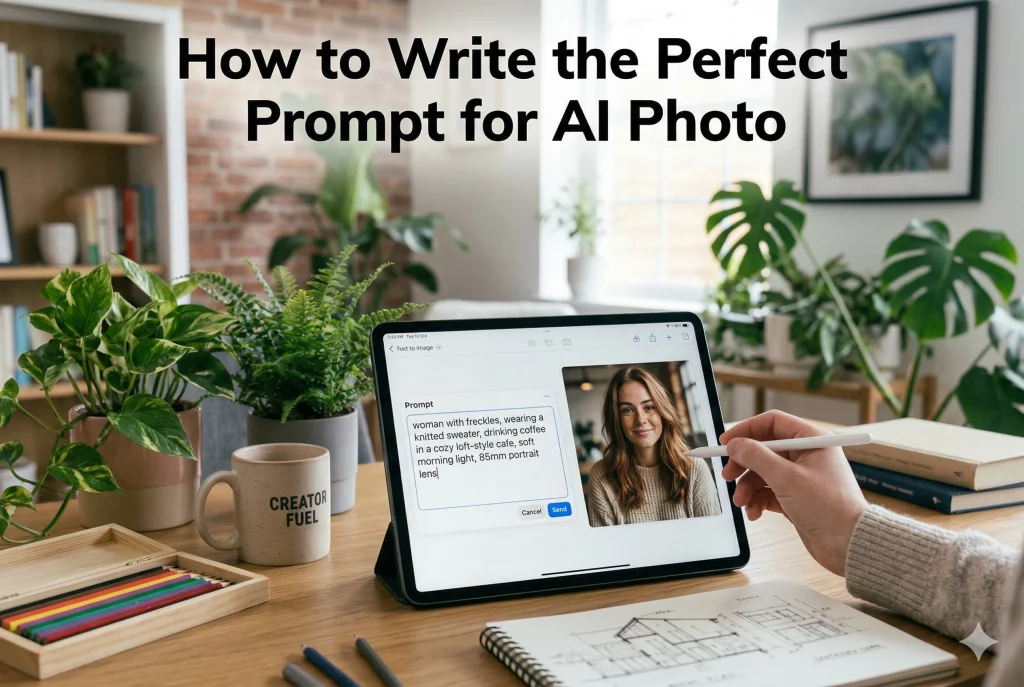
A prompt is your set of instructions to the artist. Except the artist is an AI that takes every word literally. If you write «a woman», it’ll generate an average woman. If you write «a woman with freckles, wearing a knitted sweater, drinking coffee in a cozy loft-style cafe, soft morning light, 85mm portrait lens» — you’ll get an image good enough to sell as stock photography.
AI doesn’t fill in the gaps. It needs specifics. The more details you give, the less room for random results.
The anatomy of the perfect prompt: a formula that works
Every professional prompt follows a simple formula you can memorize once and use forever:
Subject + Action + Environment + Style & Lighting + Technical settings
Let’s break it down.
Subject: who or what is in the frame
Start with the main subject. Specify gender, age, appearance, clothing, emotion. The more precise, the better.
- Bad: «a person»
- Good: «a 35-year-old man, short hair, light stubble, wearing a navy blazer, confident look»
If there’s more than one person, describe each separately. AI tends to merge characters if you don’t clearly separate them.
- Bad: «two friends»
- Good: «one man and one woman. The man stands on the left with his hand on the woman’s shoulder. The woman stands on the right. Both look at the camera»
Action: what’s happening
Describe the pose, movement, and interaction with objects. Use present-tense verbs.
- «sitting on a wooden chair with legs crossed»;
- «holding a coffee mug with both hands»;
- «looking to the side with a slight smile».
Environment: where it’s taking place
Location, time of day, weather, atmosphere.
- «in an old European cafe, rain outside the window»;
- «on a rooftop skyscraper, sunset, city lights below»;
- «in a pine forest, early morning, mist rolling over the ground».
Style and lighting: how it looks
This is the most important block for photorealism. It sets the mood and quality.
- Lighting: «soft diffused light», «golden hour», «backlight», «studio light with softbox»;
- Shooting style: «portrait», «close-up», «full body», «cinematic», «lifestyle»;
- Mood: «cozy atmosphere», «dramatic lighting», «romantic vibe».
Technical settings: what creates realism
This is where you tell the AI what camera and settings to «shoot» with. This is key to making an image look professional rather than amateur.
Below is a table of settings that AI responds well to. Add them to your prompt to give the image the right style.
| What to put in the prompt | What it does |
|---|---|
| Photorealistic, 8k, raw photo | Removes the «cartoon» look and makes it feel like a real photo |
| Soft cinematic lighting | Smooths harsh transitions and shadows so subjects don’t look «stuck» to the background |
| Detailed fur texture | Forces the AI to render every strand of fur, making it feel tangible |
| Depth of field | Creates depth by softly blurring the background |
| Highly detailed eyes, eye contact | Brings the gaze to life and avoids empty-looking eyes |
| Shot on 35mm lens, f/1.8 | Gives a professional look with artistic bokeh |
| Natural skin texture | Preserves pores, freckles, and highlights — removes the «mask» effect |
| Golden hour, sunset glow | Creates warm, dreamy lighting with long shadows |
| Volumetric light, god rays | Adds beams of light breaking through trees or windows |
| Intricate embroidery, pearl details | Renders fine costume details realistically |
| Steam from tea, frost breath | Adds steam from hot tea or frosty breath — brings the scene to life |
| Motion blur, dynamic shot | Creates a sense of movement (for sledding or dancing scenes) |
| 24mm wide angle | Captures more space, great for interiors |
| 85mm portrait lens | Great for portraits, slightly blurs the background, focuses on the face |
How to write a prompt that looks truly real
Even with the right formula, you can still end up with a plastic-looking image. To avoid that, add a few secret ingredients to your prompt.
Textures are everything
The real world isn’t perfect. Add words that break the gloss:
- «pores on skin»;
- «wrinkles on clothes»;
- «natural hair flyaways»;
- «lens dust» (yes, this adds life);
- «film grain».
Avoid forbidden words
AI often overdoes it with beauty. If you don’t want a doll-like image, don’t use «beautiful», «perfect», or «flawless». Instead, use «natural», «authentic», «unposed».
Negative prompt: what not to mention
Most AI tools, especially Stable Diffusion, have a field for a negative prompt. Put what you don’t want to see there:
- «deformed hands, extra fingers»;
- «blurry face, bad anatomy»;
- «watermark, text»;
- «oversaturated, plastic skin».
If you’re writing a single-line prompt without a separate negative field, it’s better not to mention unwanted elements at all. The AI might take «no extra fingers» as a command to draw extra fingers. Only write what you want to see.
Photos with your own face: how to preserve likeness
One of the most popular tasks is making an AI photo with your own face. Want to see yourself as a medieval knight or on a red carpet? It’s possible, but there are some things to keep in mind.
What matters for good results:
- Quality of source images. They should be sharp, not blurry. Ideally, portraits taken with a phone camera in good light.
- Different angles. The AI needs to understand what your face looks like from the front, side, and three-quarter view. The more angles, the better. Upload 5–10 photos where you’re looking at the camera, to the side, smiling, serious.
- Variety in lighting. Photos in daylight, indoors, with different light sources help the AI avoid breaking your face in unfamiliar conditions.
- What to avoid:
- Photos with busy patterns on clothing (the AI might render them as part of your face)
- Large jewelry that covers part of your face
- Harsh shadows, overexposure, closed eyes
Which AI tools work best with faces
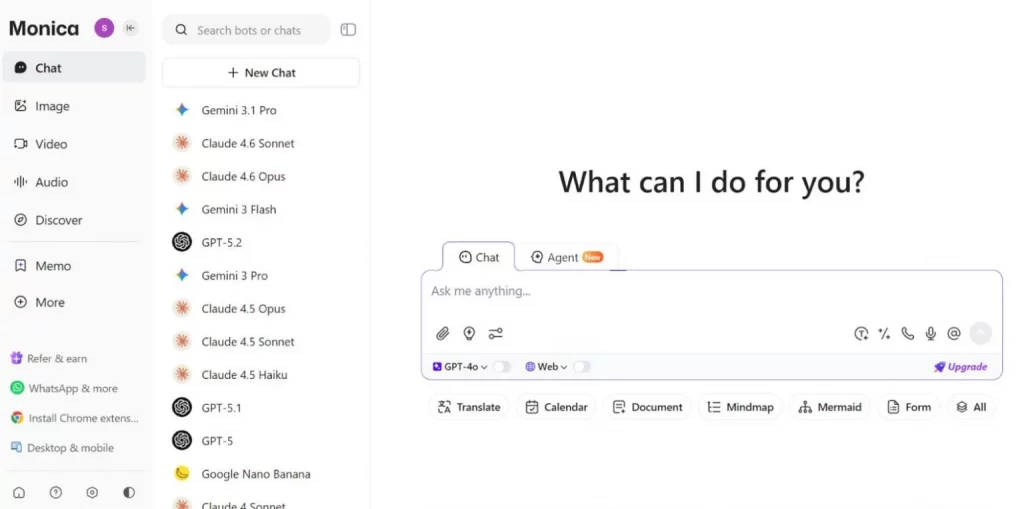
Monica AI. If you are serious about learning the art of making prompts, we recommend that you pay attention to this platform. For an all-in-one experience, Monica AI serves as a convenient aggregator, bringing together multiple leading neural networks in a single interface. It’s an ideal platform for testing prompts and generating images, allowing you to access models like DALL·E 3, Stable Diffusion, and Flux Pro side-by-side without switching between different tools.
Krea AI — one of the best tools. You upload 3 to 50 of your photos, click «Train», and the AI creates a model of your face — a «character». After that, you can generate yourself in any scene, and your face will be recognizable. Training models requires a paid subscription.
Nano Banana by Google Gemini — works great with 1–2 selfies. You just upload a photo and describe what to change: background, clothing, lighting. Your face stays the same, only the surroundings change.
DALL-E via ChatGPT — you can upload your photo and write: «Make the same photo but in an astronaut suit on Mars». The AI will keep your facial features, though it may change small details in tricky angles.
Example prompt for a photoshoot with your own face
First, upload 5 of your photos in different angles: front, side, smiling.
Transform this person into a stylish creative director. Professional portrait, wearing a loose beige linen shirt, standing in a minimalist loft with large windows. Soft morning light, warm tones, confident relaxed pose, sharp focus on face, natural skin texture, shallow depth of field, shot on 85mm lens, preserve facial features exactly.
Group photos: how to capture multiple people
Group shots are technically difficult. AI often gets confused about which hand belongs to whom, merges two people into one, or duplicates faces.
Rules for group prompts:
- Describe each person separately. Give each unique details: hair color, clothing, position.
- Use positional words. «Left to right», «in the foreground», «stands behind».
- Add interaction. «Father holds a child in his arms», «woman hugs the man’s waist».
- Avoid crossed arms. If you don’t want extra fingers, choose simple poses.
Example prompt for a group photo
If you want to preserve specific people’s faces (like your family), the best method is to train a model on each person’s face in Krea AI, then use inpainting to swap faces into the generated group photo.
Family portrait of three people. A man with short dark hair stands behind, placing his hands on the shoulders of a woman with long blonde hair who sits in front. A small boy with brown hair sits on the woman’s lap, laughing. Cozy living room with a fireplace in the background, warm candlelight, candid shot, happy emotions, high detail, natural skin textures, shot on 35mm lens, depth of field.
Example prompts for different use cases
These are basic text «templates» you can copy and paste into an AI tool to see what happens. Use them as a starting point, change the details, and create your own scenes.
Simple cinematic image
A photo that looks like a movie still. Focus on skin texture and atmosphere.
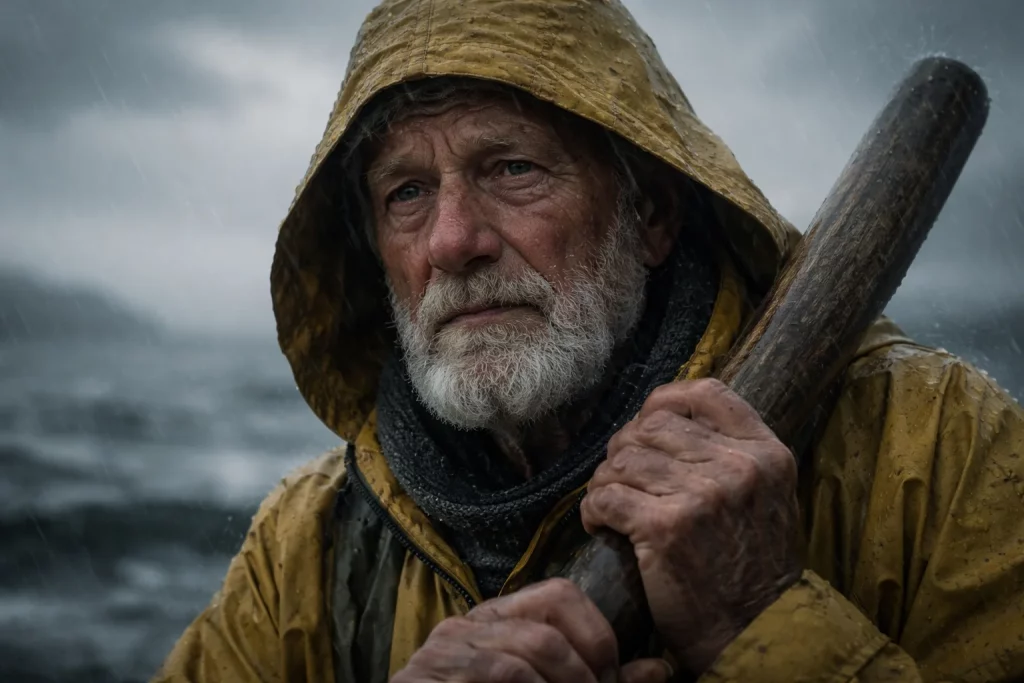
Cinematic portrait of a thoughtful elderly fisherman with a weathered face, wearing a worn yellow raincoat, holding a wooden oar. Soft overcast lighting, shallow depth of field, misty ocean background, heavy rain, photorealistic, 8k resolution, shot on Arri Alexa, natural skin pores, tears in eyes.
Photoshoot with your own face for Krea or Nano Banana
Your face as a successful CEO. Features stay the same, surroundings and clothing change. First, upload 5 of your photos in different angles: front, side, smiling.
Professional business portrait, stylish grey suit, standing on a modern rooftop overlooking a city skyline at sunset. Golden hour lighting, warm tones, confident posture, sharp focus, bokeh background, high fidelity, preserve facial features exactly, shot on 85mm lens, natural skin texture.
Group photo preserving faces — family portrait
First, train a model in Krea AI on photos of each person’s face. With some experimentation, you can create a striking generational portrait worthy of hanging in your living room or giving as an anniversary gift.
Three people in a cozy autumn park. Father with short dark hair and beard stands behind, holding a laughing boy on his shoulders. Mother with long blonde hair leans towards them, holding a golden retriever puppy. Yellow leaves on the ground, warm sunlight through trees, candid shot, happy emotions, high detail, realistic skin textures, shallow depth of field, shot on 50mm lens.
Common mistakes and how to fix them
As fast as generative AI is evolving, it can still act like a stubborn machine and break in unexpected ways. Be prepared and build in some «idiot-proofing» upfront.
Extra fingers and deformed hands
AI struggles with hand anatomy. Many models have improved, but glitches still happen.
Fixes:
- Add «correct hand anatomy, natural hand position» to your prompt;
- Hide hands in pockets, behind the back, or give the person an object (book, cup);
- In the negative prompt, write «deformed hands, extra fingers».
Merging people or objects
AI can lose boundaries between objects — a cat blends into a nightstand, flowers grow into the vase.
Fixes:
- Add separating phrases: «standing next to each other, not touching»;
- Place an object between characters (table, flower, distance).
Plastic-looking skin
AI wants to make things «prettier» but sometimes overdoes the retouching.
Fixes:
- Add «textured skin, pores, natural skin, no retouching»;
- Remove words like «beautiful» or «perfect» from your prompt.
Unreadable text on signs
The most common problem. Most generators turn letters into Klingon-like symbols or make funny mistakes. Only a few AI tools can generate readable text on images.
Fixes:
- Use DALL-E 3 or Flux — they handle this best;
- If you don’t need text, add «text, watermark, letters» to the negative prompt.
Conclusion
Learning to write good photo prompts is like learning the basic settings on a camera. It looks complicated at first. But after a few tries, you start to intuitively understand which words will work and which will lead to six-fingered hands.
The key rules to remember:
- Be specific. AI doesn’t fill in the blanks for you.
- Add technical details. «85mm, f/1.8, depth of field» turns amateur shots into professional ones.
- For photos with your own face, use model training or upload multiple angles.
- For group shots, describe each person separately with unique details.
- Don’t be afraid to experiment. Even failed generations teach you to speak AI’s language better.
If you want to try your hand right now, pick any tool from our table — many offer free generations or bonus credits with promo codes. Start with a simple prompt and gradually add more details. We promise: after just a few tries, you’ll get an image you’ll be proud to show your friends.
❓ Frequently Asked Questions
Answers to relevant questions about this AI tool